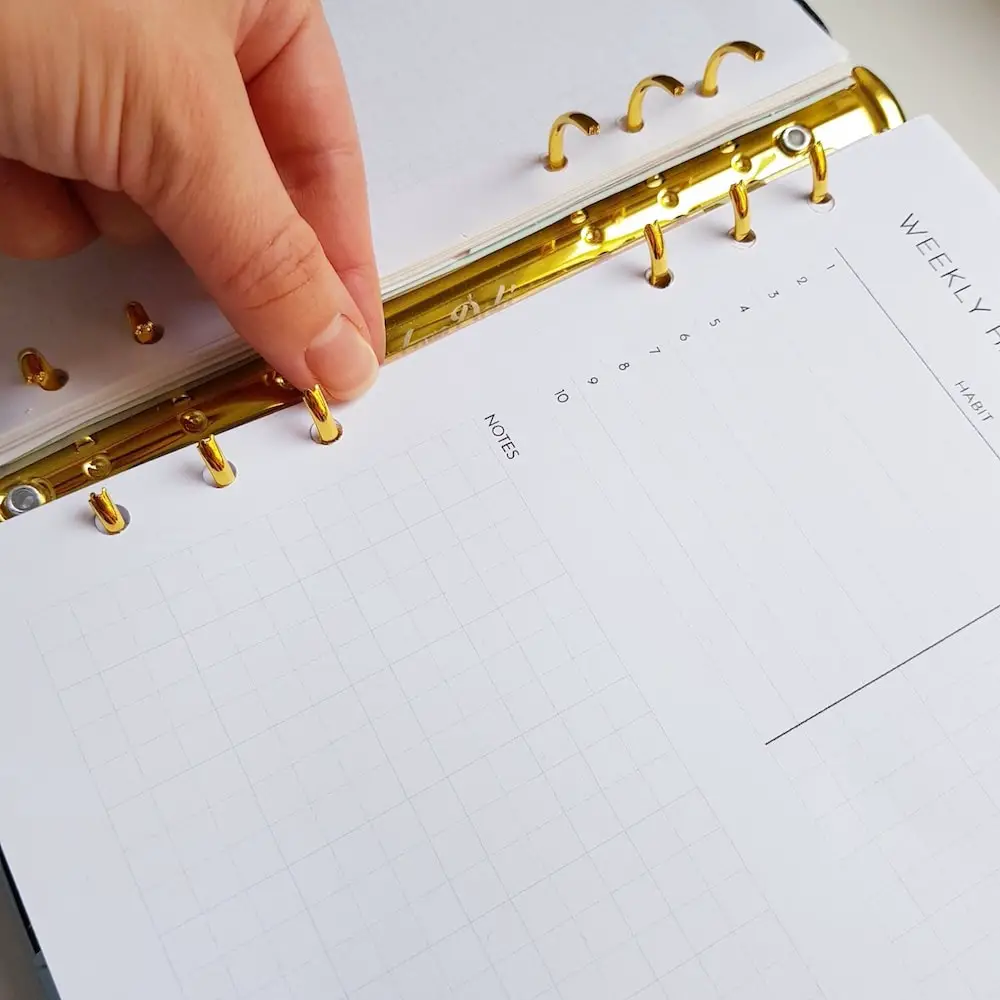

Imagine this: you have downloaded and printed out a perfect planner insert. Now it’s time to put it into your planner. But how do you punch 6 holes on a paper sheet if you only have a 2-hole punch?
Don’t worry, I have you covered. I’m going to show you how you can use an ordinary two-hole punch to punch perfect holes for all of your planner inserts. The size of the printables doesn’t matter. The trick works for any size: A5, A6, Personal, Pocket size or anything else, really.
You might have noticed that 6-hole punches aren’t as common as one might think. There only a few models available on Amazon and Aliexpress. If you aren’t familiar with Aliexpress, it is basically a cheaper Amazon with longer delivery times. These punches are quite expensive and can cost you anything from 10 dollars to over 40 dollars. Just to compare, you can get a simple two or one hole punch for as cheap as 5-7 dollars. That being said, if you need to punch a lot of inserts, it is worth investing in a 6-hole punch. It will save you time and serve you for many years.
But before you buy that 6-hole punch, you need to cope with your standard 2-hole punch. Now, let’s see how you can punch 6 holes with a standard two-hole punch.
How to punch 6-ring planner inserts with a standard two-hole punch?
How to punch 6 holes with a standard two-hole punch?
- Find a 6-hole template suitable for your ring system
First of all, find or create a paper template that you can use to mark the position of holes.
TIP: Use any of your old planner sheets as a template.
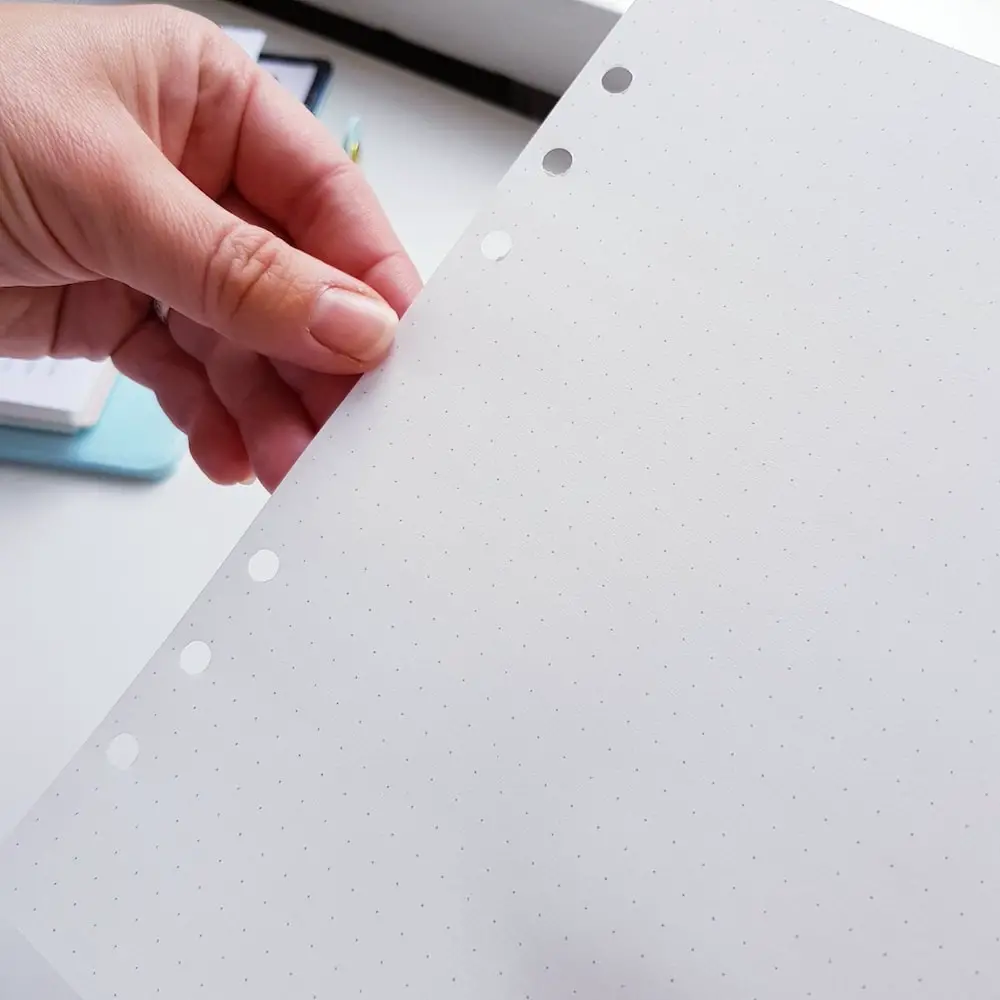
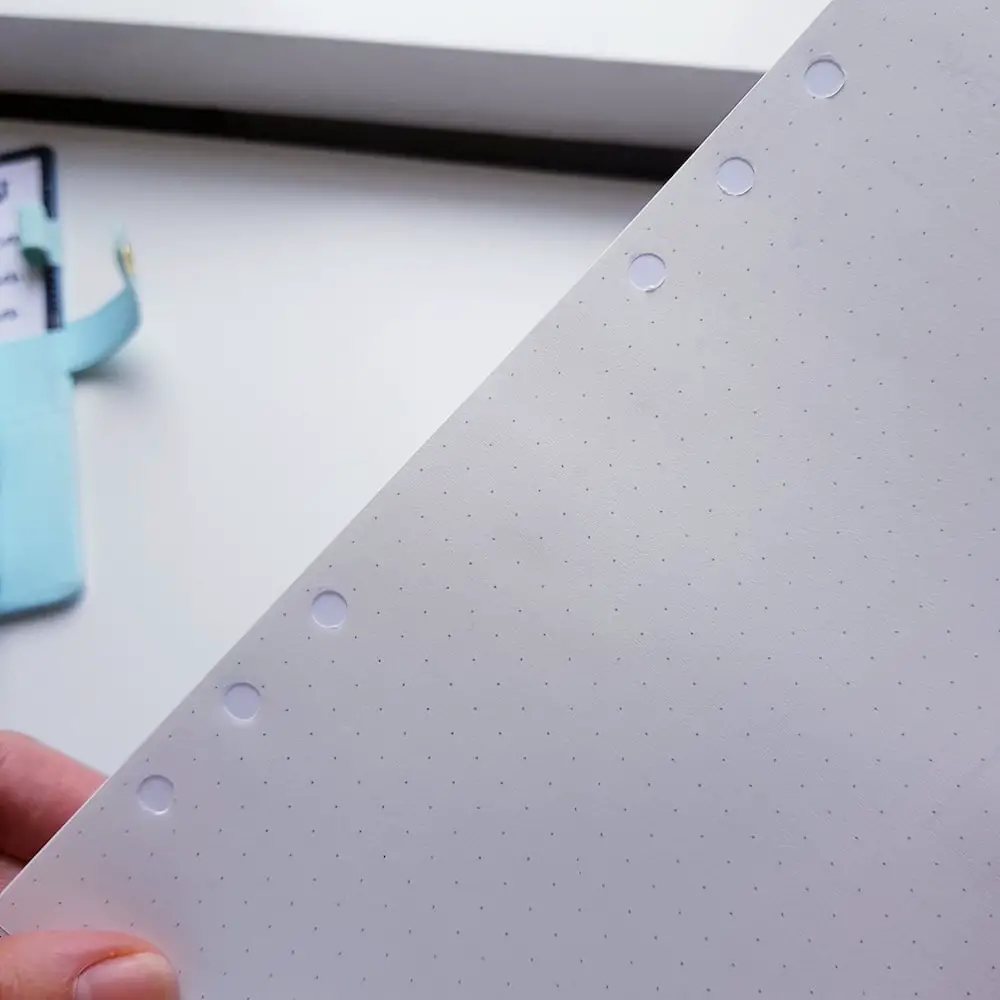
- Align your sheets of paper
Once you have a template, put it on top of the sheet of paper you would like to punch. Make sure you perfectly align both sheets to get the marks on right place.
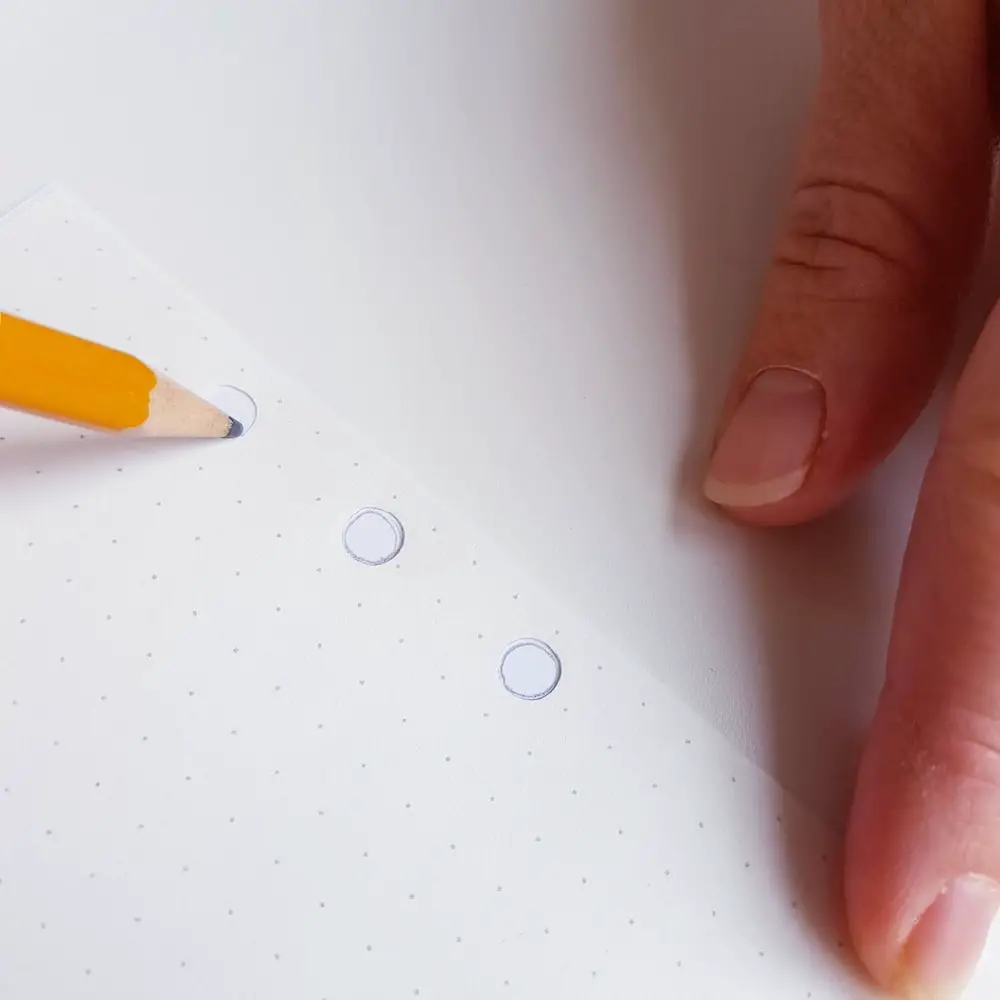
- Mark holes
With help of a pen or pencil mark all of the six holes on your new insert.
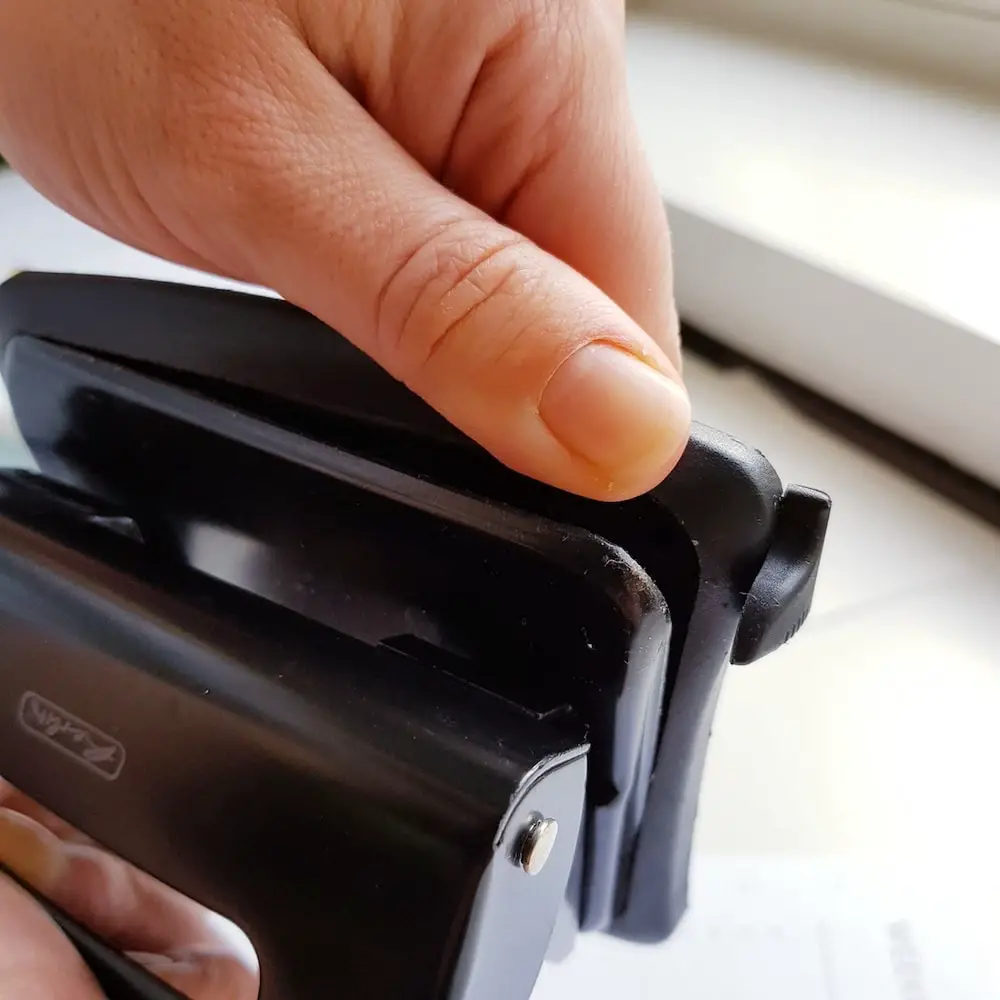
- Remove the bottom catch tray
Remove the bottom catch tray from your hole punch. The bottom is needed to keep the chads (the paper confetti) in the tray. We will need to remove it for now in order to make it easier to see where to punch.
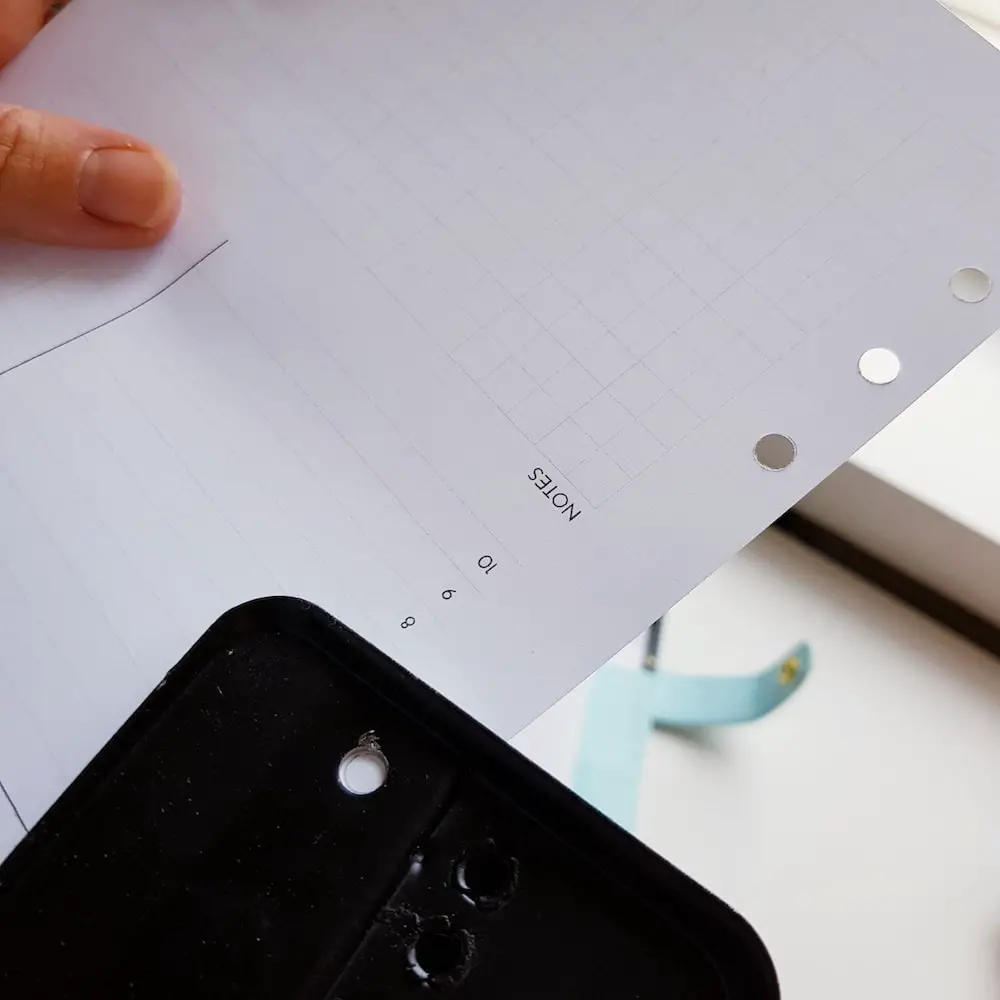
- Punch the holes
Once you removed the catch tray from the punch, you will be able to see the hole the punching knife goes through.
Align the hole on the puncher with the hole you marked on the paper sheet and punch through. Repeat with all the remaining holes.
That’s it! It is super easy to punch planner inserts for 6 holes planner system with a simple two-hole punch.
I hope this tutorial was helpful for you. Let me know in the comments below how it worked for you.
Have a great day and happy planning!